SSH Authentication with Pubkey using Fido2
This guide explains how to secure SSH connections using FIDO2 (YubiKey) for authentication and provides a brief overview of SSH basics. Traditional SSH passwords and key files rely on secrets that can be copied or stolen. FIDO2 improves security by using a hardware-backed public/private key pair. The private key never leaves your device, while the public key is stored on the server.
I will use ZSH as my local Terminal but the PowerShell commands are pretty much the same.
Disclaimer:
macOS's built-in version of OpenSSH does not support FIDO2. You can work around this by installing OpenSSH via Homebrew and updating your terminal configuration (~/.zshrc, etc.):
Add into your terminal profile file (~/.zshrc):
export PATH="/opt/homebrew/opt/openssh/bin:$PATH"
Check Version:
The output should now look like:
/opt/homebrew/bin/ssh
1. SSH Basics
The default SSH configuration folder:
~/.ssh/
1.1 ~/.ssh/Config
This file manages connections so you don't have to type all options every time.
Host server1
  HostName 99.99.99.99
  User cihan
  Port 2222
  IdentityFile ~/.ssh/id_rsa
Host github
    HostName github.com
    User cihan
    IdentityFile ~/.ssh/id_ed25519
You can then connect using the alias:
1.2 ~/.ssh/known_hosts
Contains host keys of previously connected servers. SSH checks this file to prevent MITM attacks.
1.3 ~/.ssh/authorized_keys
Stores public keys allowed to log in to your account. Essential for PubkeyAuthentication.
1.4 Private and Public Keys
At least our generated private and the corresponding public key are also generated by default is this path.
2. Creating a FIDO2 SSH Key
I will use a YubiKey 5C NFC from Yubico:
https://www.yubico.com/us/product/yubikey-5-series/yubikey-5c-nfc/
Check your SSH Version, OpenSSH 8.2 or newer is required for FIDO2 hardware-backed keys:
2.1 Generate the SSH Key Pair
First of all, plugin your YubiKey 🥸.
ed25519-sk is the key-type, which is recommended and suported above YubiKey firmware 5.2.3+. Otherwise you can use ecdsa-sk. SK extension stands for security key (U2F/FIDO2).
This command wil create two files in our default or specified directory:
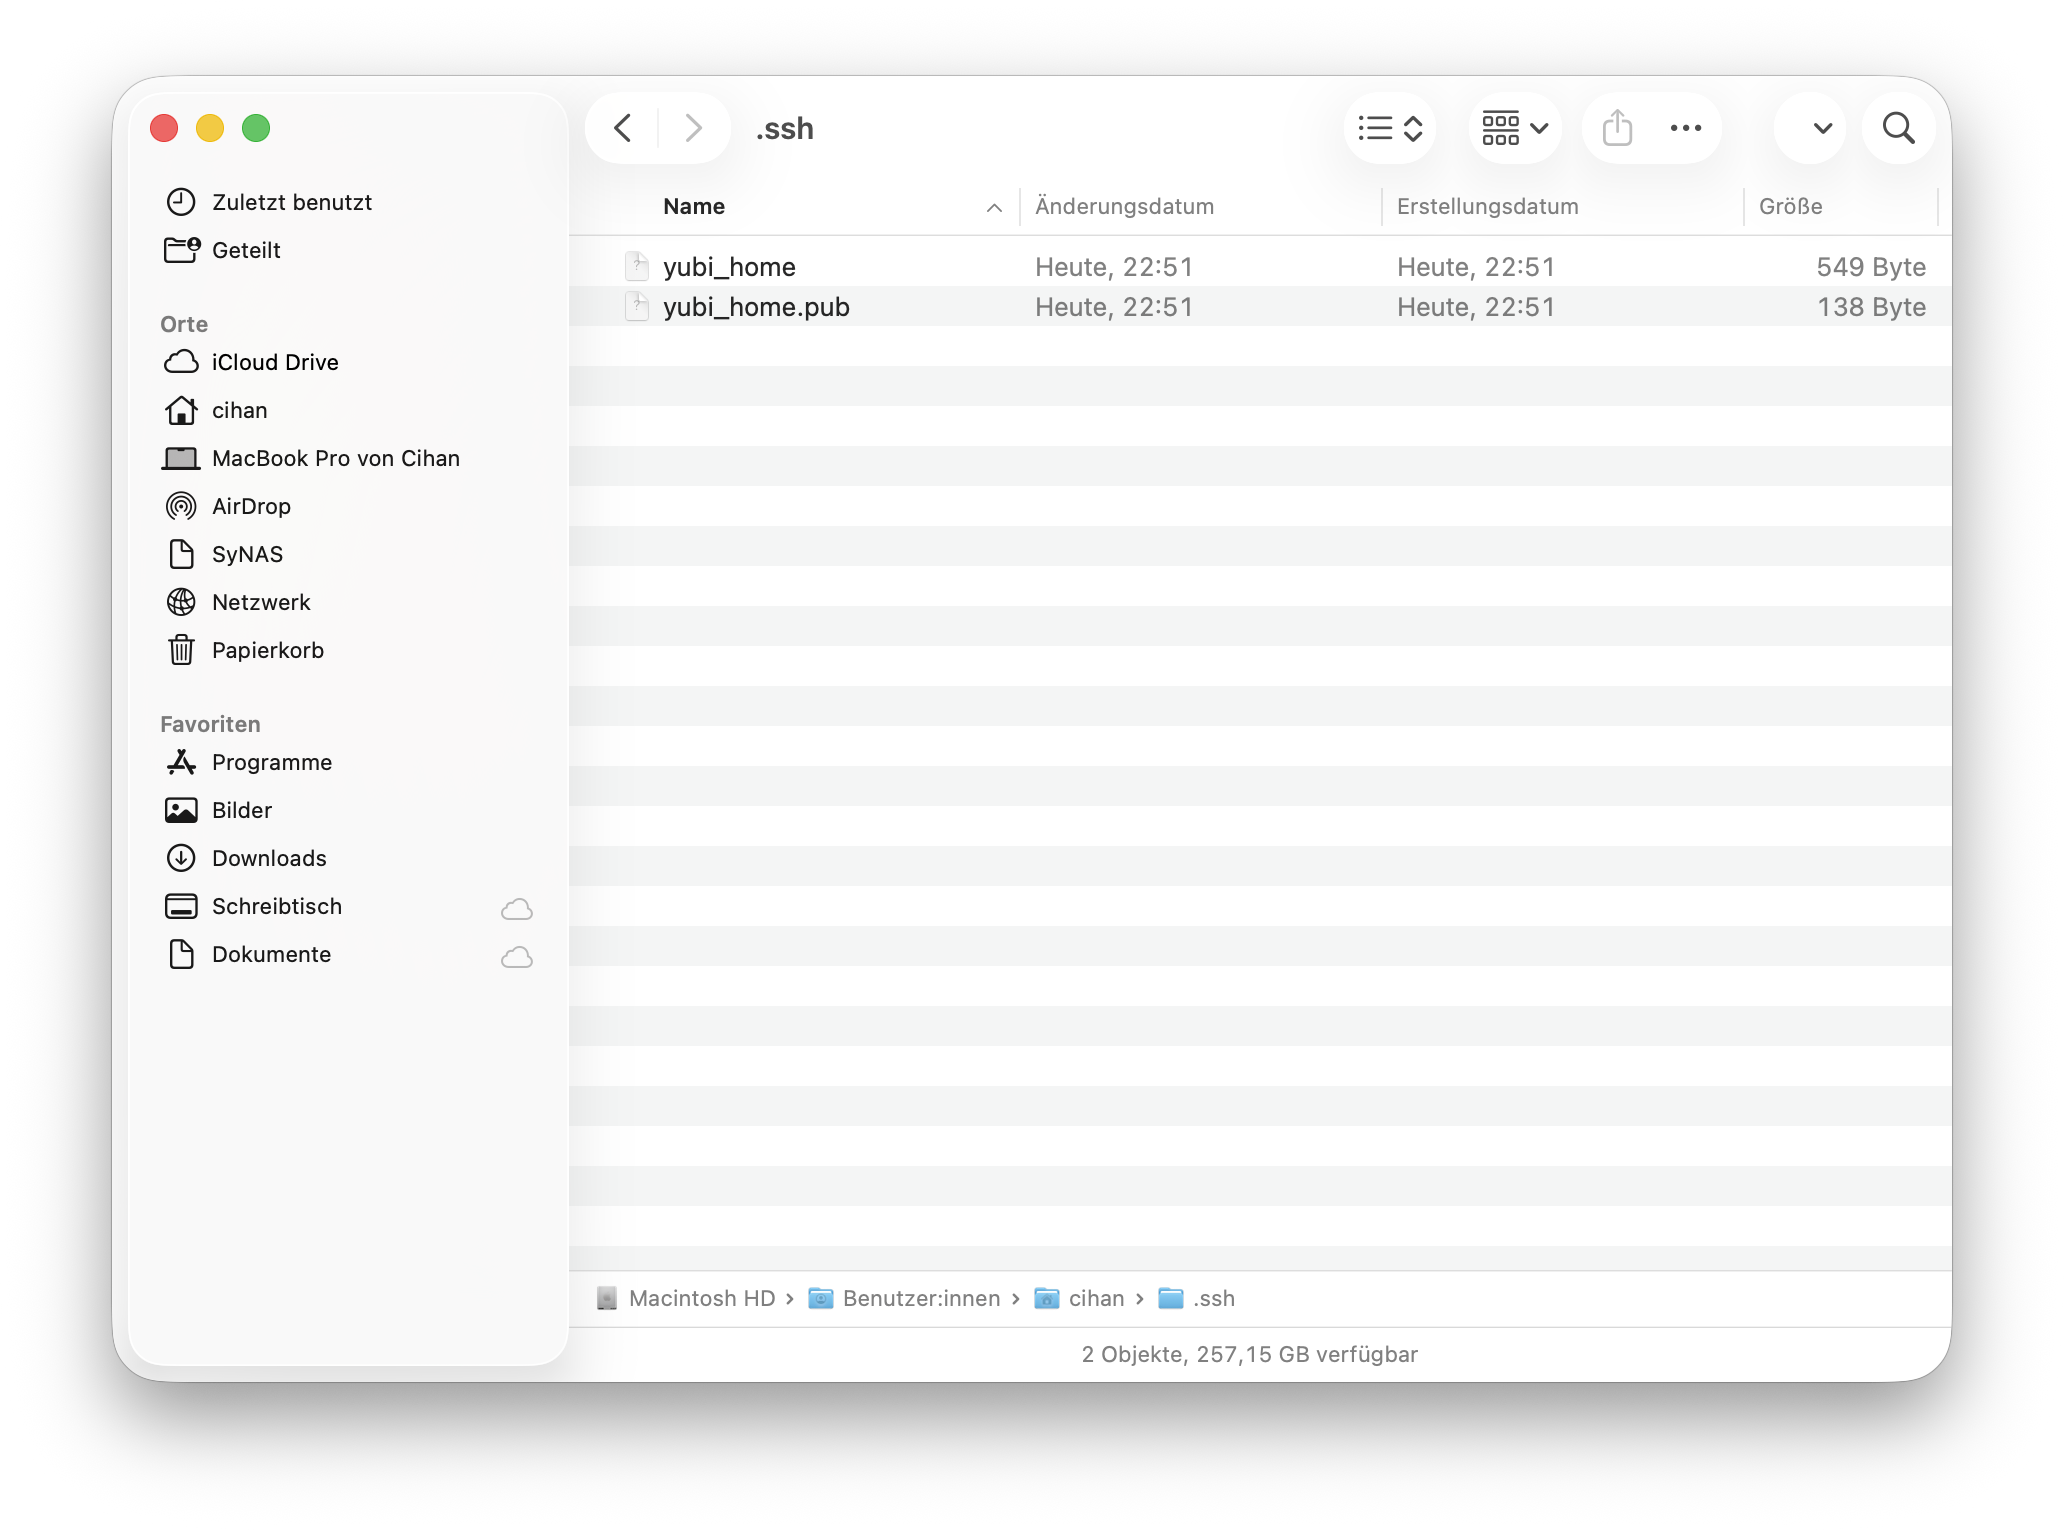
yubi_home– the reference to the hardware-backed private keyyubi_home.pub– the public key
2.2 Add Public Key to Remote Host
There are two ways of doing that.
2.2.1 Manual Method
- Connect to your SSH Host
- Modify
~/.ssh/authorized_keysfrom remote host - Copy the content of your public key and paste it into
authorized_keys
cat yubi_home.pub | pbcopy #copy content of your public key into clipboard
ssh root@remotehost #connect to remote host
nano ~/.ssh/authorized_keys #add content here as new line
2.2.2. Using ssh-copy-id
Run from local machine:
2.2.3 Connect Using FIDO2 Key

3. Tips
3.1 Aliases
Add a shortcut in your terminal profile ~/.zshrc:
Or configure in ~/.ssh/Config
3.2 Disabling Password Authentication
Once FIDO2 works, you can disable password authentication on the server. Therefore we need to modify our ssh configuration which is usually a configuration file in /etc/ssh/:
Restart ssh:
Important: Keep a backup YubiKey or other login method, or you may lock yourself out.
Using two YubiKeys—one for backup, one for daily use—is strongly recommended.
4. References
https://developers.yubico.com/SSH/Securing_SSH_with_FIDO2.html
Cheers!