PowerShell | VMware Module
First of all we need the necessary PowerShell-Module package for VMware: PowerCLI.
Depending on your vSphere Version you get information about PowerCli in the documentation from VMware itself: docs.vmware
Basically you need to start PowerShell, install nuGet provider (which will I talk about in another blogpost) and get PowerCli from PSGallery. We will install the module within PowerShell, internet connection is required. But you can also download the files from the link mentioned and go through the process offline.
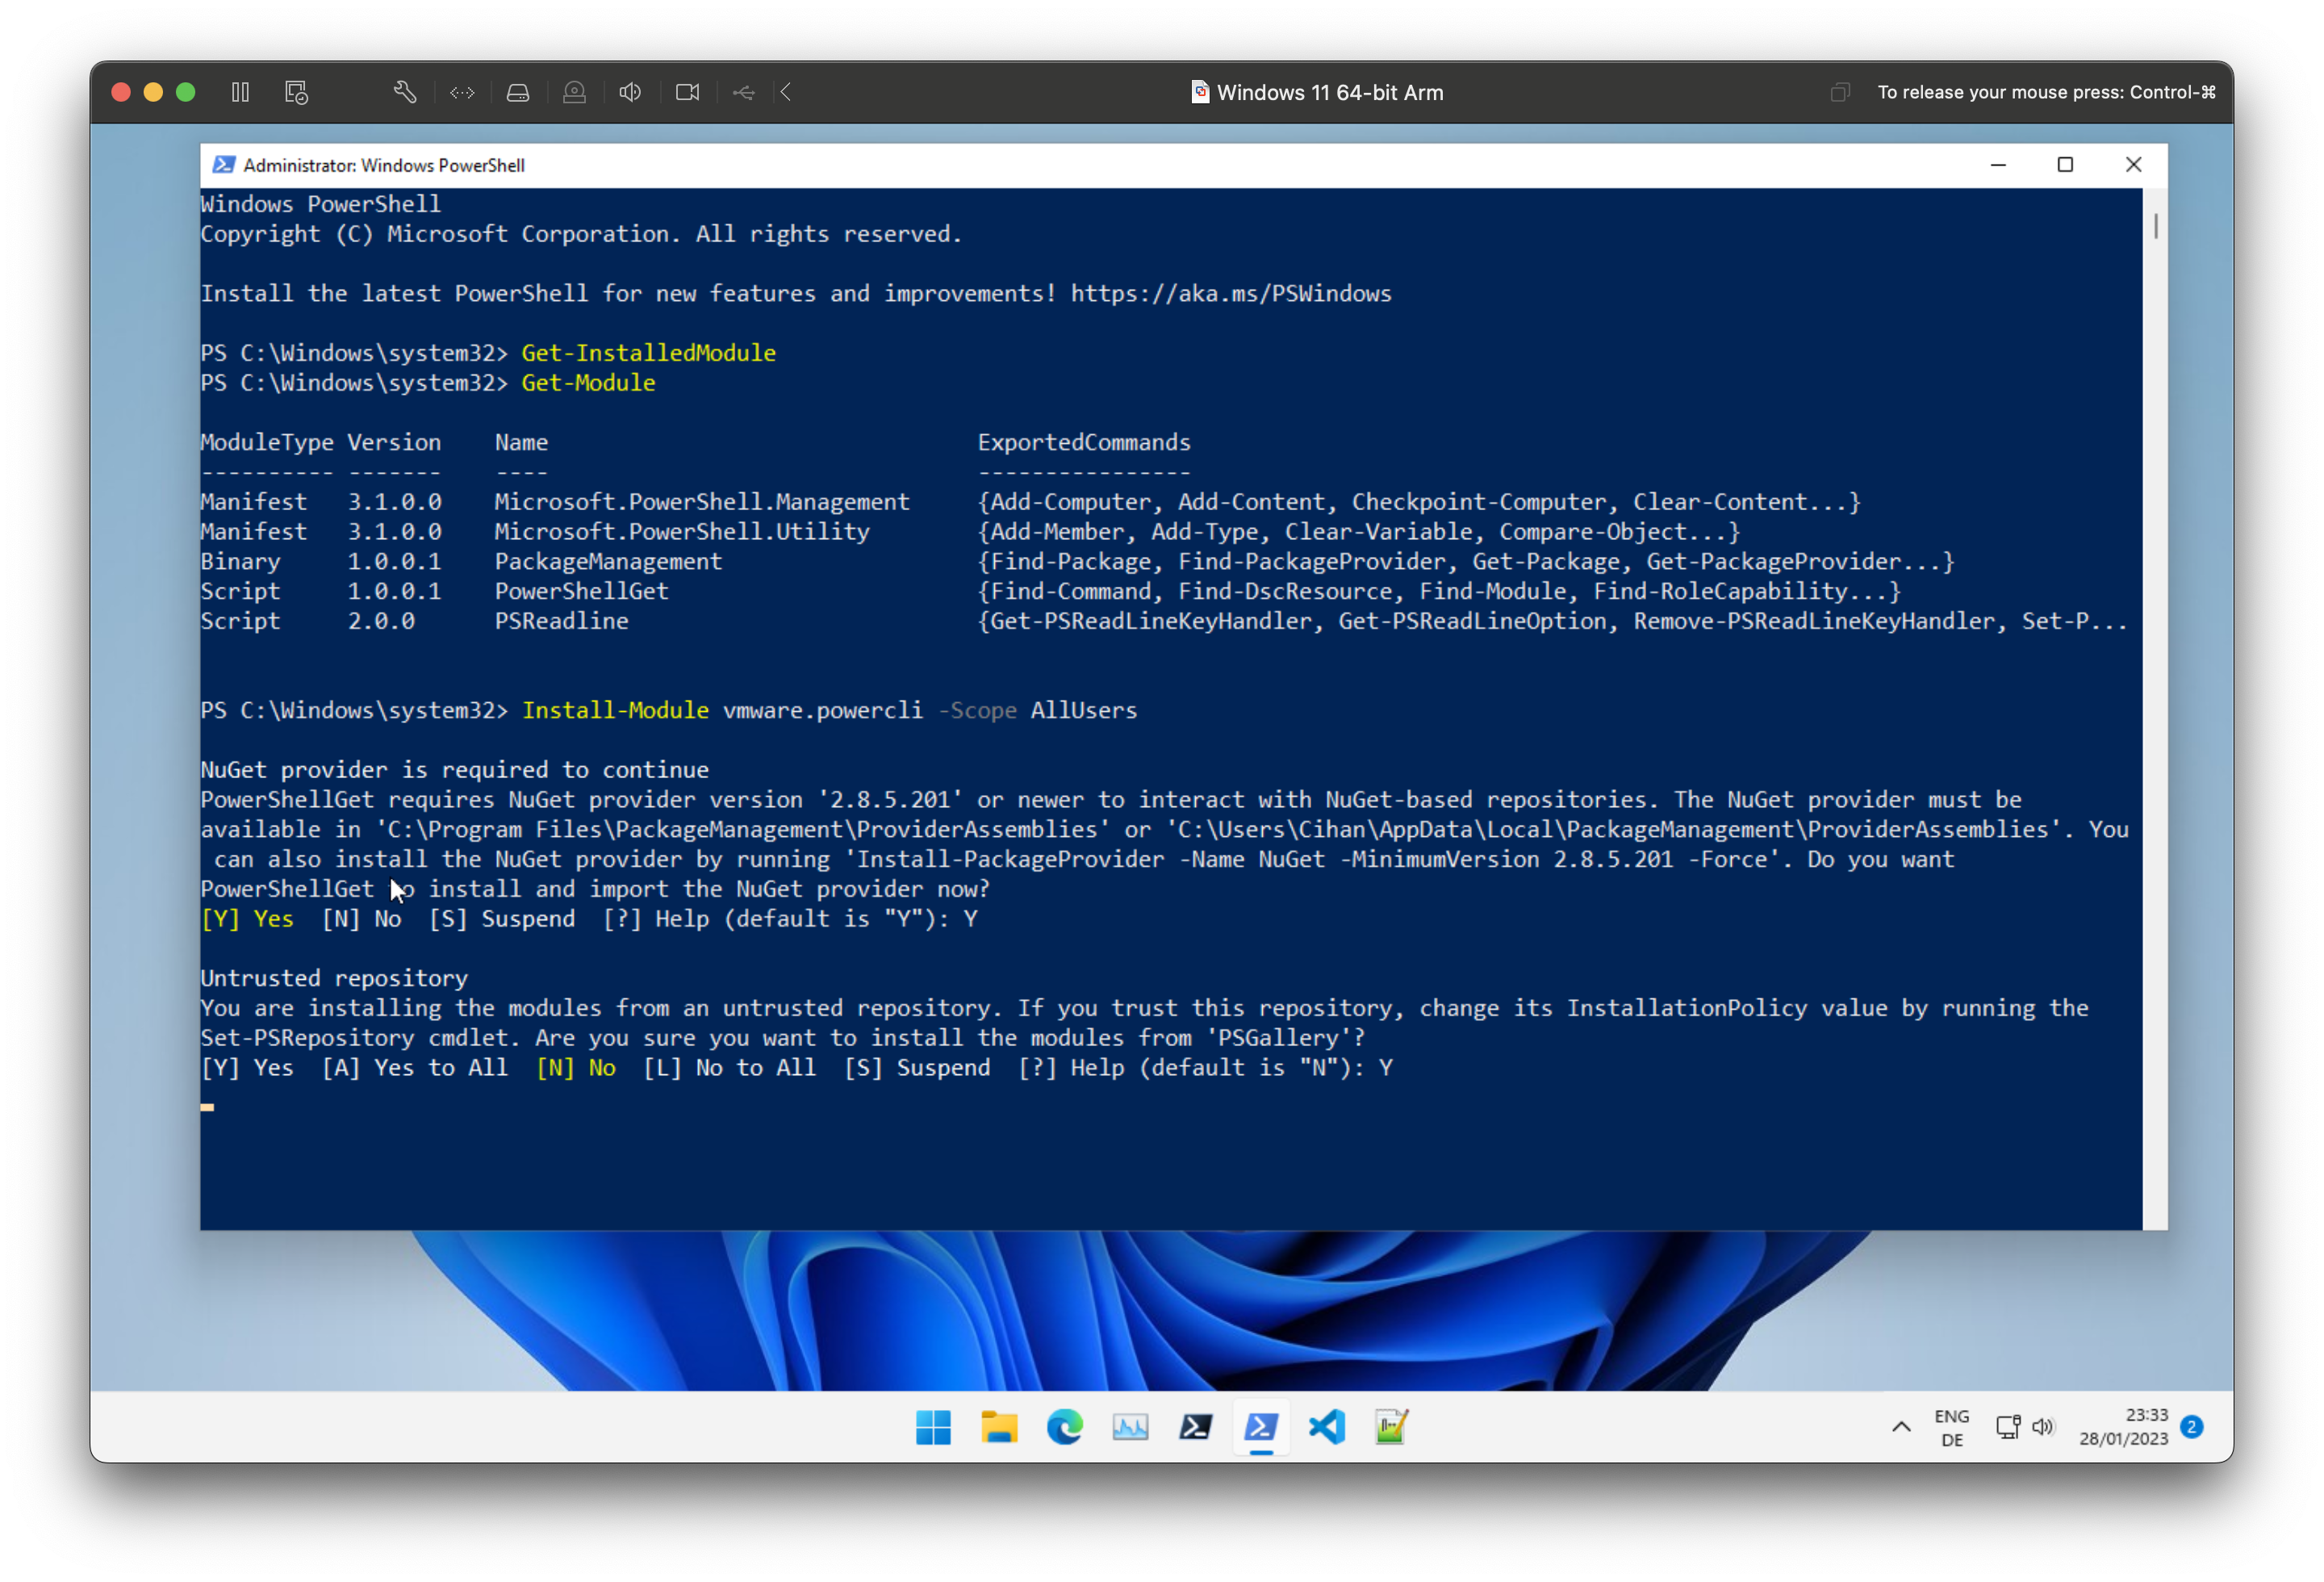
We are going to set the scope for all users in this case, otherwise replace ‘allusers’ with ‘currentuser’ –> Sidenode: PowerShell isn’t case sensitive. PowerShell is will ask you to install and import the the Nuget provider, you can confirm with ‘y’.
After the installation is done, you can also confirm to install the module from ‘PSGallery’ with another ‘y’.
Verify your installation:
If you don’t want to participate user experience:
In some cases a restart of PowerShell is required, but you should be able to run commands to VMware/vSphere now. Here a basic function based script, which you can add into your management script:
#install module
if(!(Get-Module -ListAvailable -Name "*VMware*")){
    Install-Module -Name Vmware.PowerCLI -Scope AllUsers -Confirm:$false
}

#setup module
$powercliconf = Get-PowerCLIConfiguration | Select-Object *
if($powercliconf.ParticipateInCeip -match "true"){Set-PowerCLIConfiguration -Scope AllUsers -ParticipateInCeip $false}
if($powercliconf.InvalidCertificateAction -notmatch "Ignore"){Set-PowerCLIConfiguration -InvalidCertificateAction Ignore -Confirm:$false}
Start-Sleep -Seconds 5
You don’t need to load the snappins, they will be loaded automatically.
To get your available Modules:

To get some commands for example from the module ‘VMware.vimautomation.core’ -> which is part of the downloaded PowerCli package:
Cheers!